Importing data from June
If you're migrating from June and want to bring your historical product analytics into Accoil, this guide walks you through how to export your data from June, preserve the files, and get ready for import into Accoil.
Easiest path: Segment and Rudderstack ReplayIf you’re already using Segment or RudderStack, the simplest way to get your historical product usage data into Accoil is to use their Replay features.
These features allow you to re-send archived event data directly from your existing pipelines — no exports, no scripts, no hassle. This is ideal for migrating your data into Accoil or for backfilling historical data due to a misconfiguration or tooling change.
Note: Both Segment and RudderStack Replay require paid plans and some setup.
1. Export Your Data from June
To export your data from June, follow these steps:
➤ Step 1: Go to the June migration page
👉 https://analytics.june.so/a/go-to-my-workspace/migrate
This page contains everything you need to start your export.
➤ Step 2: (Optional) Stop sending data to June
June recommends stopping data tracking before export to ensure a clean snapshot. You can choose to:
- Remove or disable June’s tracking calls (
track,identify,group,page) - Mark each section as “Done” on the migration page
- Confirm no new data is arriving via June’s Developer Logs
Recommended but not requiredWhile this is recommended by June, it's not required for importing to Accoil. If you're continuing to send data to June, just ensure you export once — before switching over.
➤ Step 3: Select the CSV Export Option
On the migration page, scroll to the “Select a data export option” section.
- Choose CSV
- Click Continue
- Then click the Export data button
You’ll see the status move through these phases:
- Export requested – immediately after clicking
- Export in progress – usually within 30 minutes
- Export completed – once files are ready
➤ Step 4: Wait for the Download Email

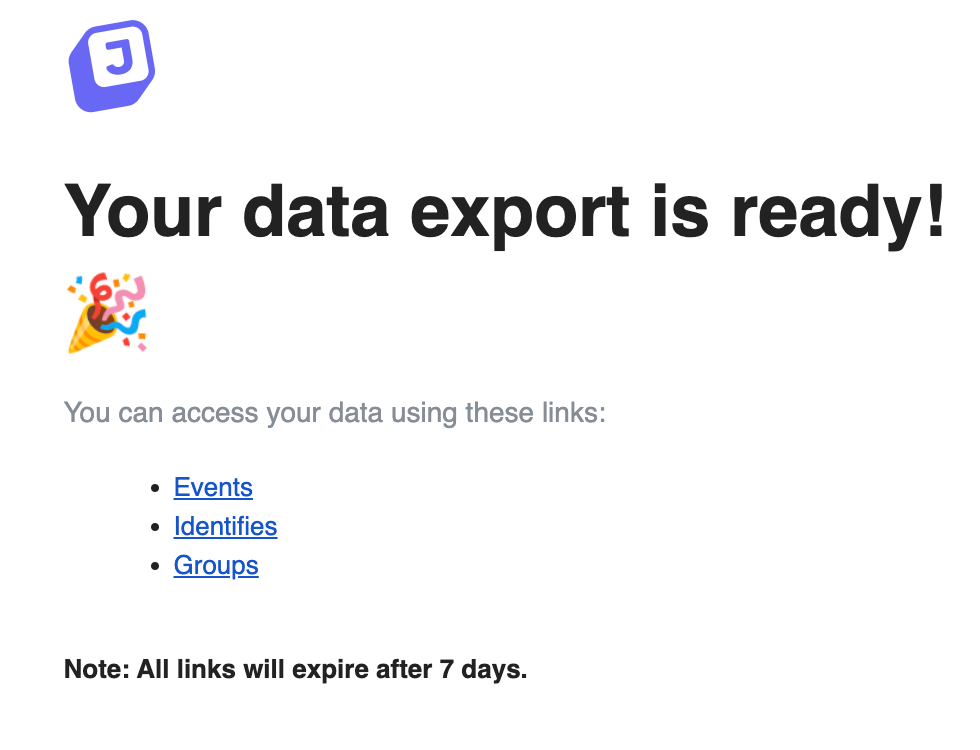
You’ll receive an email from [email protected] with download links for your files. This usually arrives within a few hours, but may take up to 24 hours.
The email will contain links to download.zst compressed files:
2. Preserve the Export Files
⚠️ Important: Download all files as soon as the email arrives.
- Files will be deleted automatically after 7 days
- Do not unzip or modify the
.zstfiles - Keep the original filenames and store them in a secure location
Even if you’re not ready to import immediately, downloading and preserving these files now ensures you don’t lose any historical data.
💡 How to Uncompress `.zst` Files (Optional)
Your June export will arrive as .zst (Zstandard) compressed files. While you don’t need to unpack them to import into Accoil, you can inspect them manually if needed.
🖥 macOS
- Install Zstandard via Homebrew:
brew install zstd- Uncompress a file:
zstd -d events.zstThis will output events as a .csv file in the same directory.
🪟 Windows
- Download and install 7-Zip
- Right-click the
.zstfile - Select “Extract Here” or “Extract to folder”
Note: You don’t need to decompress these files for import into Accoil — just upload them as-is when the importer becomes available.
3. Prepare for Import into Accoil
The importer will handle:
- ✅ 90 days of historical events
- ✅ All user traits and identities
- ✅ All account/group traits
This ensures a smooth transition of your engagement data into Accoil with full historical context.
Important: Import Scope & Limitations
To ensure fast and reliable processing, the initial import from June will include:
- Up to 90 days of historical event data
- All users and account (group) traits, as available in your export
Please note:
- ⚠️ Event properties (e.g.
plan_type,location, etc. passed with individual events) will not be included in Accoil’s analytics engine.
If you rely heavily on properties for filtering in June, let us know — we're actively collecting feedback and may expand this support in the future.
Here's a polished and on-brand version of Step 4: Import Data into Accoil, written with the Accoil tone of voice in mind — clear, to the point, and lightly warm:
4: Import Your Data into Accoil
Once your files are downloaded and you’re ready to go:
- Log into your Accoil workspace
- Head to the Settings ➤ Import Data section
- Upload the relevant
.zstfiles exactly as you received them — no renaming, unzipping, or editing required - The import will start working and your data will begin to flow into Accoil.
⚠️ TIP: The import process can take 30 minutes and 2 hours depending on the amount of data you have uploaded. You can return to the import page and any time to see the current progress.
For more information refer to help documentation
Need Help?
If you have any issues locating your export or preparing for import, reach out via the Intercom Widget or email us [email protected] — we’re here to help.
Updated 6 months ago
